
Guías
Evitania Online: Guía de mecánicas y estrategia de jefes

Mecánicas en bruto, avisos de posicionamiento y contadores de supervivencia para todos los jefes de los actos I–III — perfiles melee vs ranged, telegraphs e instant kills. Combínala con la base de monstruos para stats y botín.
Guía extensa — léela entera o usa el índice para ir a una sección.
This guide organizes the raw mechanics, positional advisories, and survival strategies for all major bosses across Acts I, II, and III. Cross-check attack values, defense thresholds, and drop tables on the monsters & bosses database; use the drop chance calculator when you are planning card or rare accessory farming.
Act I Bosses
Herald of Death
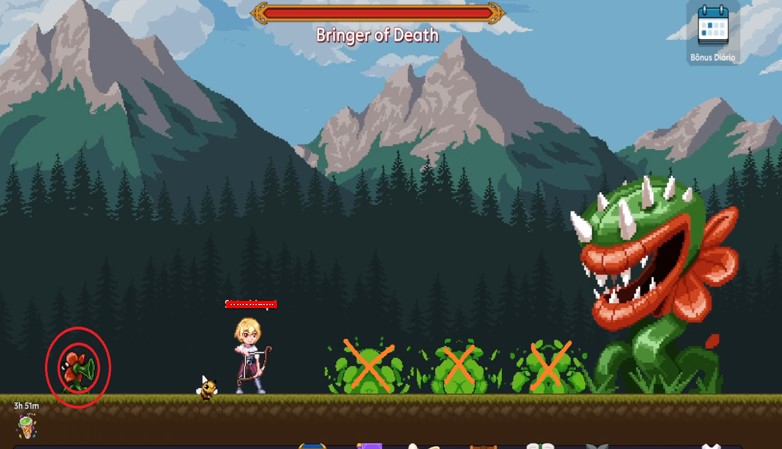
Location: Act I (Plant Area)
Positional hazard profile
| Range | Danger | Notes |
|---|---|---|
| Short-range (melee) | High | Dangerous frontal attacks and ground hazards |
| Long-range (ranged) | Low | Ground markers are easy to dodge |
Core mechanics & counters
Poison gas cloud
- Trigger: Repetitive timed mechanic. Spawns a toxic gas cloud in the melee zone (marked with X). Staying inside inflicts massive damage over time.
- Counter: Back out of the melee zone. Locate and defeat the minor flower shooter adds in the arena corners to dissipate the cloud.
Melee frontal leap
- Trigger: The boss leans backward.
- Counter: Backpedal 3–4 steps immediately to evade the heavy frontal sweep. This attack is lethal (instant kill) on higher difficulties.
Ranged three-point marker
- Trigger: Boss targets distant players, marking three distinct points under their feet.
- Counter: Keep moving continuously to avoid damage entirely.
Giant Crab
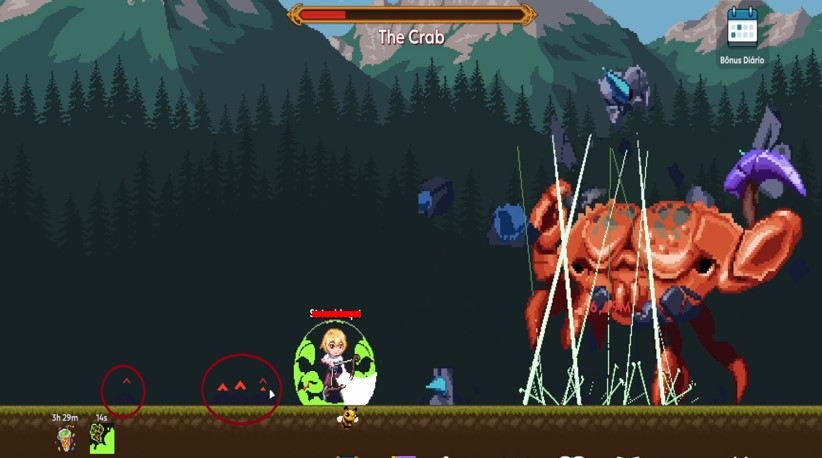
Location: Act I (Crab Area)
Positional hazard profile
| Range | Danger | Notes |
|---|---|---|
| Short-range (melee) | High | Punishing frontal chomps |
| Long-range (ranged) | Low | Crowd-control is easy to break |
Core mechanics & counters
Melee chomp mark
- Trigger: The floor around the boss lights up with a telegraph marker.
- Counter: Immediately back away from the marked zone. Wait for the bite animation to finish, then return to melee DPS range.
Armor shred state
- Trigger: Boss health thresholds. As HP drops, it progressively sheds armor plates.
- Counter: At 30% HP, the boss loses all remaining armor. It will no longer execute frontal shield counterattacks, allowing aggressive melee positioning.
Ranged ground entangle
- Trigger: Boss digs into the ground from a distance, attempting to root or freeze ranged players.
- Counter: Low threat. Keep walking to break the root and maintain DPS.
Yrsainir
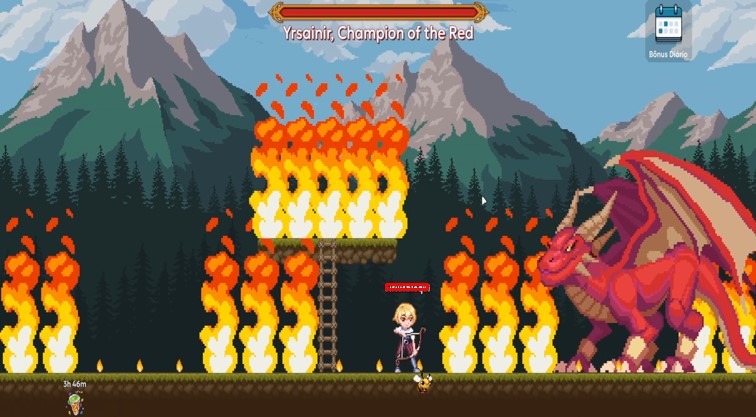
Location: Act I (Fire Elemental Area)
Positional hazard profile
| Range | Danger | Notes |
|---|---|---|
| Short-range (melee) | Low | Exploitable safe spots |
| Long-range (ranged) | Extremely high | Punishing fire hazards and targeted mechanics |
Core mechanics & counters
Under-chin safe spot (frontal breath)
- Trigger: Right-arm sweep and frontal flame breath.
- Counter: Stand directly underneath the jaw/chin hitbox — an exact pixel-safe spot under the chin negates both attacks.
Stat formula check: Ensure your character's Defense is greater than or equal to the boss's Attack value (Defense ≥ Boss Attack). Compare your build on the gear database against Yrsainir's attack line in the database. This reduces remaining unavoidable chip damage from minor hits to 0.
Takeoff & fire pillars
- Trigger: Boss takes flight, circling the arena while generating static fire columns across the floor.
- Counter: Move to the staircase immediately. When the flame animation on the stairs fully extinguishes, proceed upward. This pathing protects you from the subsequent ground-fire phase.
Random fire pillars
- Trigger: Erratic ground markers indicating incoming fire pillars.
- Counter: Move to unmarked zones. Wait for the flame animation to fully fade before stepping back. Stepping too early inflicts damage; moving too late leaves you vulnerable to the next spawn.
Ranged fight nullification
- Note: This fight is highly punishing for long-range classes due to aggressive fire pillars and targeted mechanics.
- Counter: Ranged classes are strongly recommended to stand in melee range (hug the boss) to bypass ranged AI mechanics entirely.
Act II Bosses
Ice Mammoth
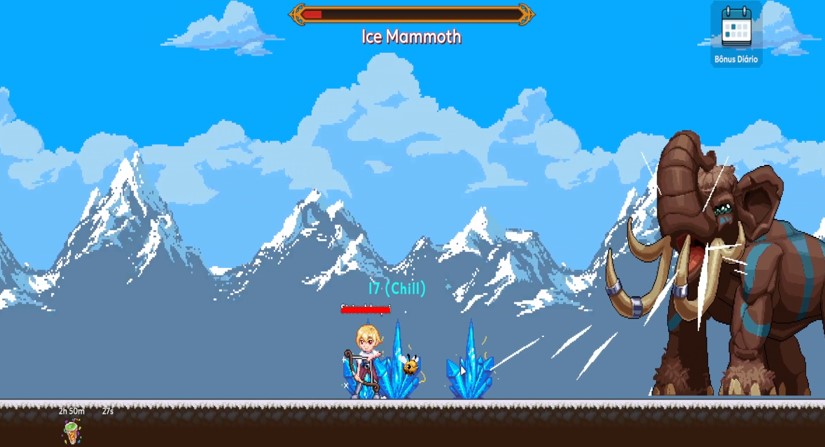
Location: Act II (Yeti Area)
Positional hazard profile
| Range | Danger | Notes |
|---|---|---|
| Short-range (melee) | High | Punishing close-combat attacks |
| Long-range (ranged) | Low | Crystal mechanics are straightforward |
Core mechanics & counters
Melee tri-flame stamp
- Trigger: Boss raises its front right foot.
- Counter: Stay directly on the boss hitbox; the three flame trails spawn slightly ahead of its body, letting close-range players bypass the attack.
Melee swaying animation
- Counter: If you are already hugging the hitbox, ignore the sway. Hit registration will miss automatically.
Heavy frontal stomp
- Trigger: Boss rears back on its hind legs.
- Counter: Run backward or sideways immediately. Contact is an instant kill.
Stampede crystal stun
- Trigger: Fire rains from above, leaving three crystals on the ground. The boss pulls its left hind leg back to prepare a charging stampede.
- Counter: If the boss charges, it is an instant kill. Destroy one ground crystal to guarantee a stun before the stampede connects.
Spiky howl
- Trigger: Boss screeches and spits ice spikes that pull players in and inflict a heavy slow.
- Counter: Moderate damage but strong crowd control. Interrupt the channel by placing or interacting with an active ice crystal.
Jotunn
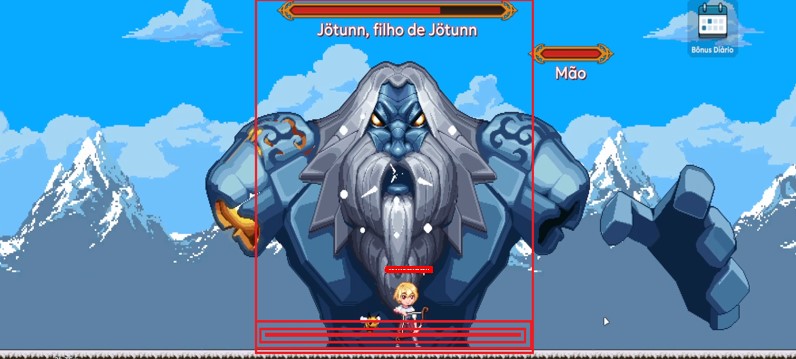
Location: Act II (Troll Area)
Positional hazard profile
| Range | Danger | Notes |
|---|---|---|
| Short-range (melee) | High | Requires specific positioning to bait attacks |
| Long-range (ranged) | Low | Laser sweep is easily dodged at range |
Core mechanics & counters
Corner baiting strategy
- Trigger: Hand slams.
- Counter: Fight from the designated arena corners. This baits hand slams downward. Focus one hand first, then the other to accelerate the fight.
Ranged arm stretch: If the boss stretches its hands from afar, do nothing. This attack deals zero damage to players in melee range.
Eye laser sweep
- Trigger: The boss's eyes glow brightly.
- Counter: Sprint away immediately. Aim to take no more than one tick of damage to conserve health potions. Melee classes spend significant time repositioning to reach active hitboxes during this phase.
Minion link mechanics
- Trigger: Boss summons minion adds.
- Counter: Prioritize killing adds. Defeating them redirects damage back to the boss. Leaving them alive causes the boss to redirect massive damage to you — potentially an instant kill depending on your defense.
Maevath
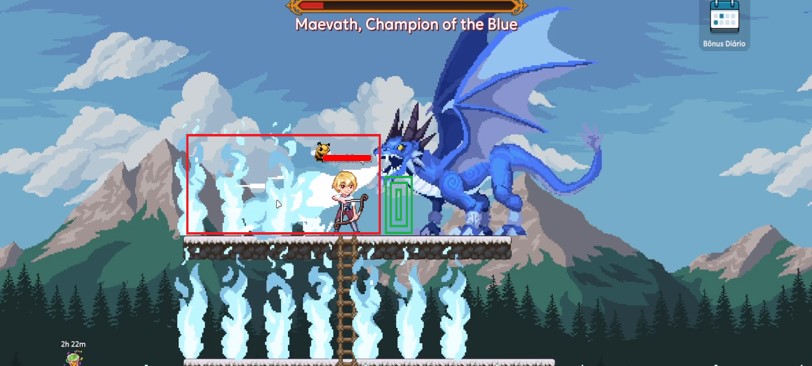
Location: Act II (Draugr Area)
Positional hazard profile
| Range | Danger | Notes |
|---|---|---|
| Short-range (melee) | Low | Safe zones mirror Yrsainir |
| Long-range (ranged) | High | Punishing transition phases |
Core mechanics & counters
Close-combat safe spot
- Trigger: Claw swipes and frontal breath.
- Counter: Position extremely close to the boss, mimicking the Yrsainir under-chin strategy to avoid claw hitboxes and the breath cone.
Breath attack
- Trigger: Boss centers on the map and inhales deeply for one second.
- Counter: Sprint to the far left or right side of the arena to clear the massive linear attack zone.
Flight & lava transition
- Trigger: The boss takes flight to transition to Stage 2. A portal monster spawns on the ground.
- Counter: Defeat the summoned monster quickly to lower the stairs and follow the boss. If you take too long, the lower floor becomes a lethal sea of flames (instant kill).
Stage 2 green safe zone
- Trigger: Phase 2 transition.
- Counter: Ranged classes choose between the safe green zone at distance or staying close. Defeat spawned adds instantly, avoid the breath cone, and climb back up quickly.
Final burn phase
- Trigger: Low-HP final stage.
- Counter: Stay close to avoid ground fire and breath sweeps. Save potions from the early phase for unavoidable chip damage here.
Act III Bosses
Gate of Zhai Halud

Location: Act III (Kangaroo Area — local fauna includes marsupials/kangaroos)
Positional hazard profile
| Range | Danger | Notes |
|---|---|---|
| Melee & ranged | Balanced | Equally challenging for both ranges |
Core mechanics & counters
Tentacle spawning
- Trigger: Direct attacks on the gate. A giant tentacle sprouts near the player regardless of distance.
- Counter: Watch for the ground indicator. Step back out of the slam radius, let the attack miss, then return to DPS.
Corner safe spot (Phase 1)
- Trigger: The massive boss entity emerges.
- Counter: Run to the designated safe corner immediately. Failure is an instant kill. Once the boss submerges, a giant sinkhole opens where it stood. Run into the hole to transition underground.
Subterranean assault (Phase 2)
- Trigger: Inside the sinkhole. Surface tentacles become immune to damage.
- Counter: Attack tentacles from below. Destroy all underground tentacle roots before surfacing.
Exit protocol: When returning to the surface, always emerge on the left side to stay in immediate proximity to the safe corner for the next Phase 1 transition.
¿Ves un error o falta algo? Escríbeme — lo corrijo o lo añado con gusto.